

Updating the look and feel of your emails just got easier. With the new email designs feature, you can create reusable designs that keep all your email communication consistent—without adjusting each email step separately.
What's new?
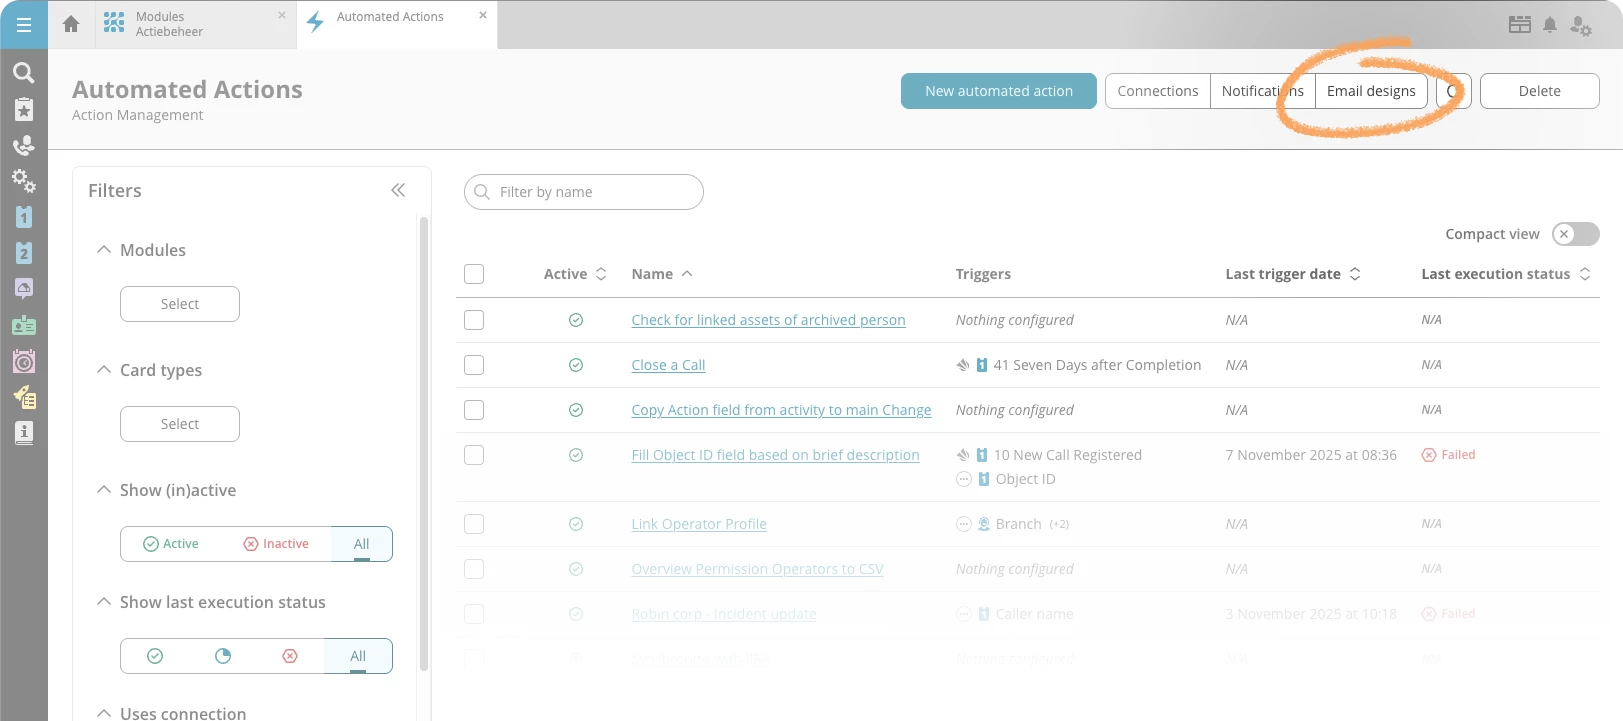
First, we implemented a new version of the email editor. You use the editor in your email steps to determine the foundation of your email: what is the message that you need to send to your customer or the operator? Besides that, you'll find the new Email designs overview in the Automated Actions overview. Here you can:
- Create multiple email designs for different purposes or groups
- Design how your emails look by setting fonts, colours, and other styling elements
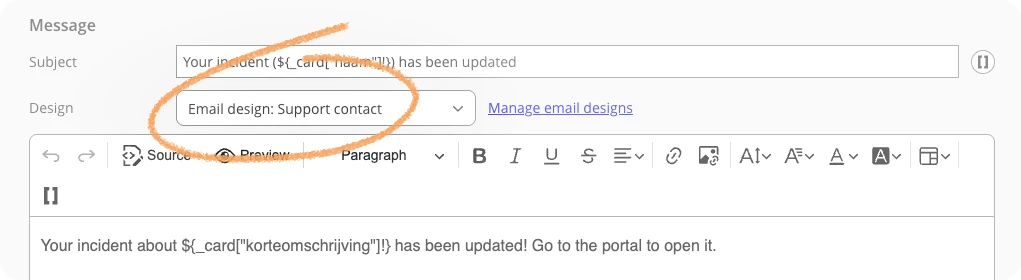
- Use the {{CONTENT}} marker to indicate where the content of a specific email step should appear in your design
So, in the email step itself, you can now pick a design from the Design drop-down list. If no design is selected, the email step will look exactly like it's designed in the email step itself. With the Preview button in an email step, you check your design before applying it.
Why you should start using email designs
Before, if you wanted to update your email styling—like changing a font or adjusting colours—you had to edit all your email steps individually. Now, you create a design once and apply it to multiple email steps. Need to make a change? Update the design, and all emails using that design are updated automatically.
Creating designs
The new email designs feature is ideal for setting up the styling of an email. Within HTML emails, you determine the styling in the <head> element. So, the email design is the ideal feature for determining the styling within that <head> element. Then, the email step within your Automated Action contains the <body> element, or the email’s content.
What to do with existing email steps
The new email editor is a newer and more future-proof editor. You can only use the new centralized email designs with email steps that use the new editor. However, your emails might look slightly different from before. That’s why we introduced a conversion step: a tool that helps you move your existing email step to the new editor. We recommend the following approach:
- Create an email design that you will use for your emails. In this design, you basically create a style document that you can use across multiple emails.
- Convert an existing email to the new editor. In existing email steps that still use the old editor, you’ll find a banner asking you to convert it. The conversion wizard informs you about which parts are taken along (the of the email) and what is left behind (the of the email). After the conversion, your email might look different from before.The conversion is only finalized if you save your automated action. Simply undo the conversion by reloading the automated action.
- In the email step that you just converted, pick the new design (that you created in step 1) in the Design field.
- In the editor of the email step, click Preview to get an impression of what the email step will look like when used.
New email steps will make use of the new editor by default. For these steps, we advise to directly start working with the Design feature instead of still styling them within the email step.
Coming up
This is the first version of the new email designs feature. In the future, we’ll add more features that make it easier to manage specific styling elements within your design.


