


Connect and manage your integrations the easy way with OAuth 2.0
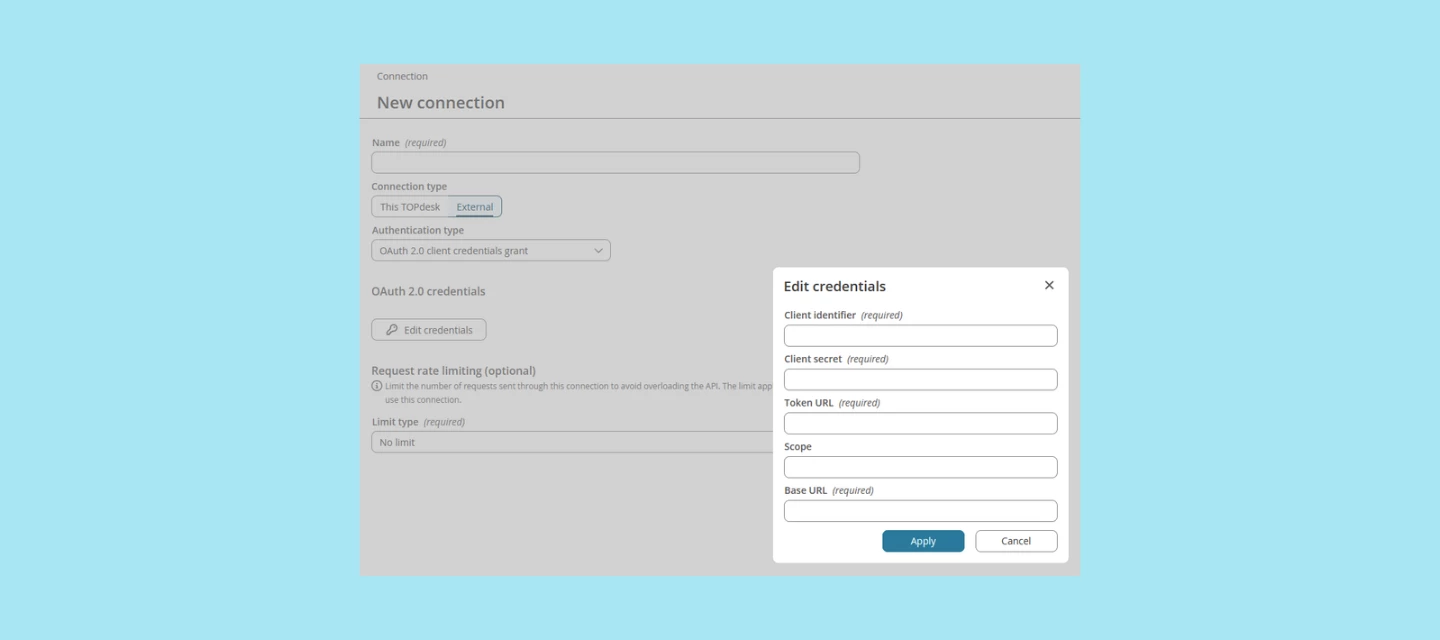
Connecting TOPdesk to other tools just got simpler. You can link automated actions to more external APIs, and change your integrations right where they are, no need to start over. The integration panels also tell you more, so you can see what an integration can do and who changed it last.
More ways to connect your automated actions
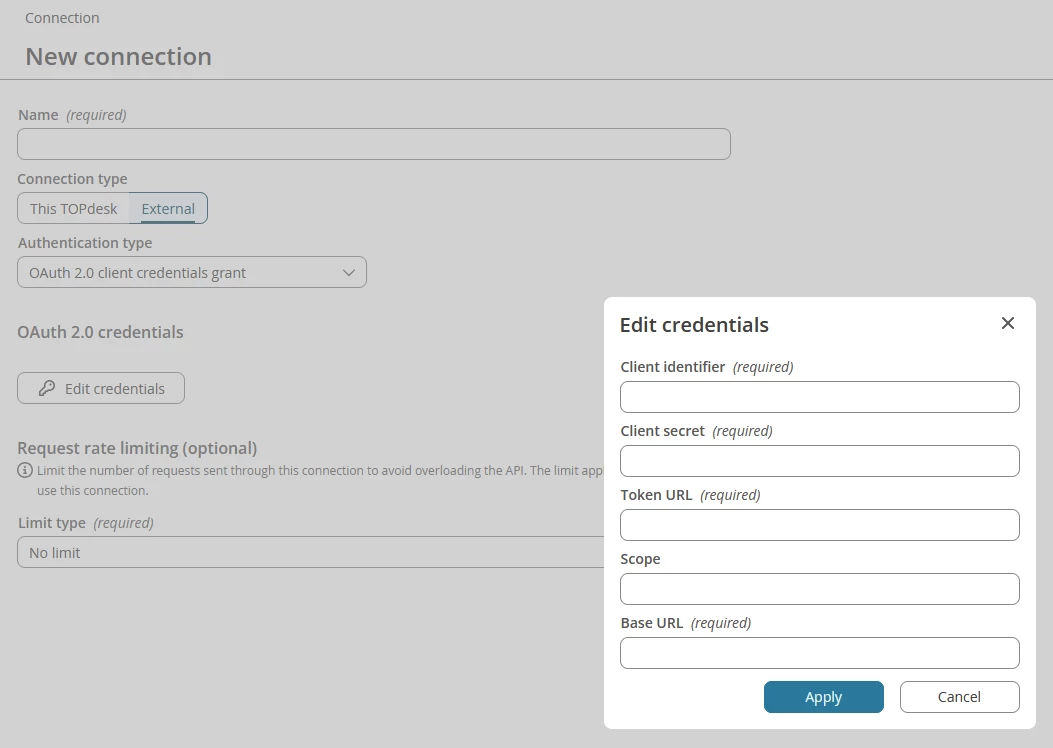
When you connect an automated action to an external API, you can now choose Google OAuth 2.0 or OAuth 2.0 client credentials grant as the connection type. Go to Automated actions > Connections > External connections to set one up.
Application integrations
- Change permissions on the spot. Select Edit in the integration’s menu, update the permissions and save. Your integration stays just as it was, with the new permissions.
- See permissions at a glance. The details panel now shows which permissions are assigned to the selected integration. We left out what the overview table already shows (created by, creation date, expiry date and status), so the panel only holds what’s new.
User-delegated integrations
- A simpler setup. Redirect URLs are optional when you create a new integration, so you can add them when you’re ready. You can add more than one, and update the redirect URLs of an existing client without recreating it.
- Decide what an integration can do with scopes. Set a scope on a user-delegated client to keep the integration to the access it needs. Integrations created before scopes existed have no scope, so only the user’s permissions limit what they can do. The details panel shows a warning for these. When you edit one, you select its scopes, and from then on its access follows those scopes. Take a moment before you edit to check which scopes the external application needs.
For both integration types
- Know who changed what. The details panel shows who last modified an integration and when, so a recent change is easy to trace.
- Set up with more guidance. Permissions and scopes are now grouped and described while you set up an integration, so you can see what you’re choosing.
- Copy the client ID in one click. A copy button next to the client ID saves you from selecting it by hand when you create an integration.
- Leave a note. Add a short note to an integration client. It works as a reminder for yourself or as documentation for your colleagues.
Why use OAuth 2.0?
With an API account, your integration signs in with a username and an application token. If someone steals that token, they can misuse it for as long as it stays valid. With an OAuth client, your integration uses a client ID and client secret to request a temporary access token, and uses that token for its API requests. The token expires after a short time, so a stolen token is only useful for a limited period. That means you can sleep a little better.
Want to know more? See the documentation on creating a new application integration and creating a new user-delegated integration. Have you tried the new options, or is something still missing? Tell us in the comments.